How to move navigation bar from left side to the bottom in Outlook?
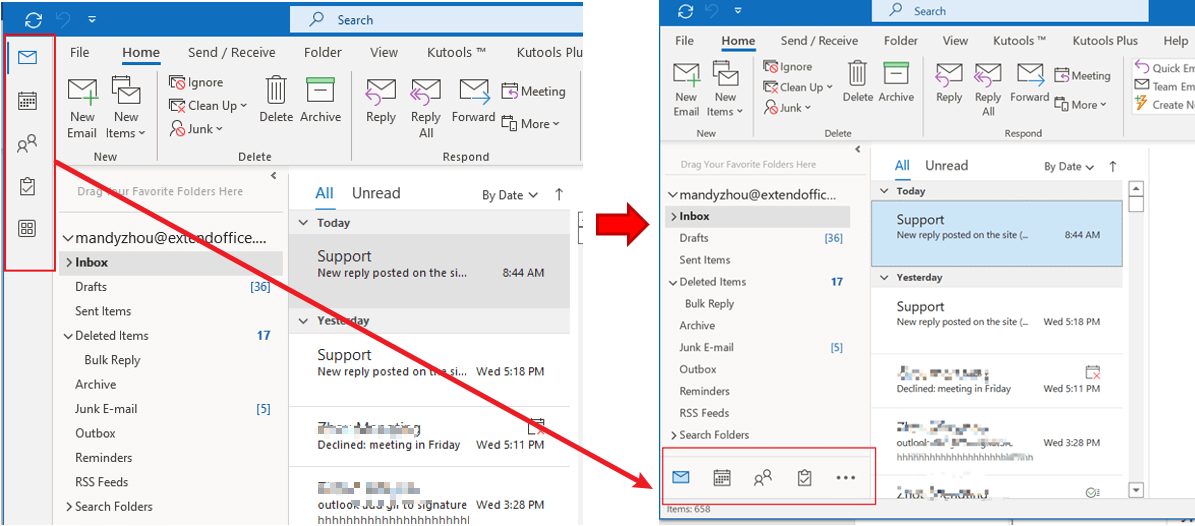
For some users of Outlook for Microsoft 365, you may find the navigation bar no longer reside at the bottom. Instead, the navigation bar is moved to the upper left side of the Outlook window. Some may feel it is a good update, but many may get annoyed about this change because they have already gotten accustomed to the old style, and the change causes all kinds of inconveniences. Anyway, is there any way to move the navigation bar from the left side to the bottom? The answer is yes. This tutorial will show you two easy and quick ways to get the job done.
Note: Here takes Microsoft Outlook 365 as an instance, the steps and descriptions may have some differences in other Outlook versions.
Move navigation bar from side to bottom in Outlook with an Outlook option (highly recommended 👍)
For users of the newest versions of Outlook, which is Microsoft 365, you can get the job done really fast. Office just added an option in the latest version of Outlook 365. Thanks to this update, you can change the navigation bar back to the bottom with just a few clicks. Please do as follows:
1. Enable Outlook. Click File > Options > Advanced.
2. Uncheck the Show Apps in Outlook option under the Outlook panes.
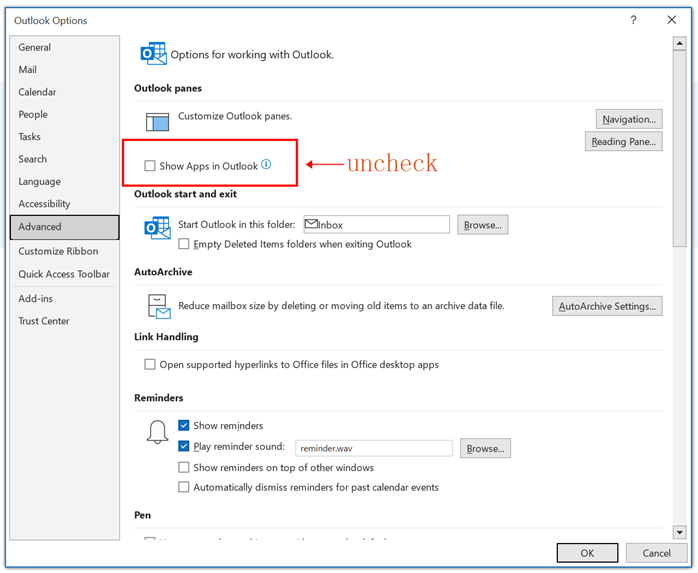
3. Click the OK button to finish the set up.
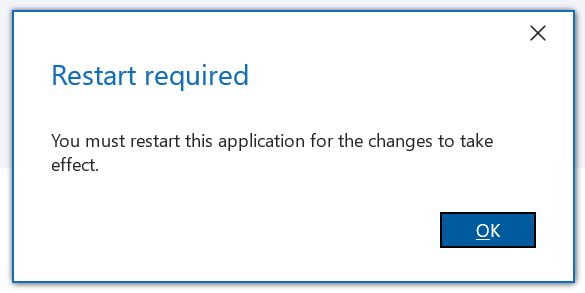
4. A prompt box pops up, reminding you that you must restart this application for the changes to take effect. Click OK.
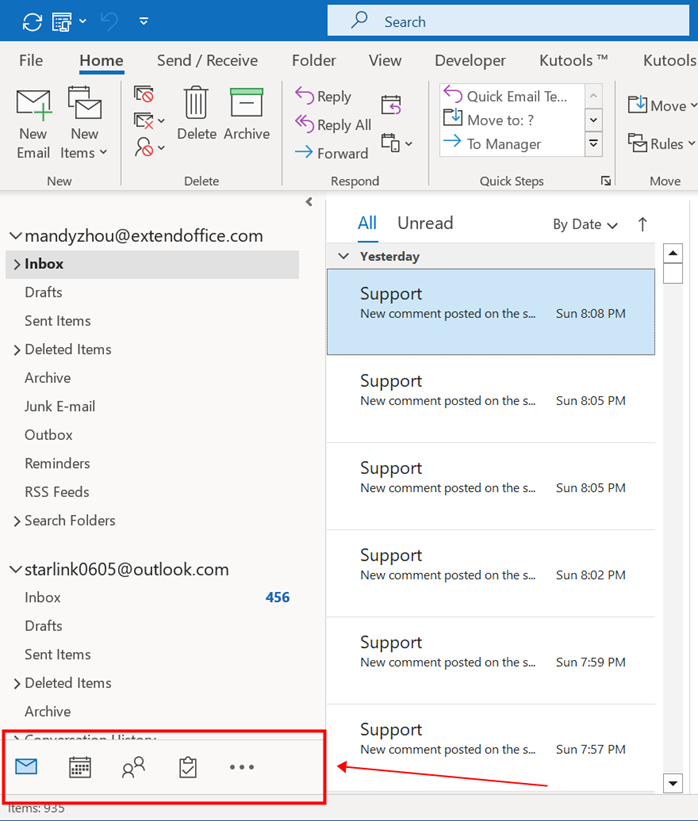
4. Restart Outlook. You will find the navigation bar is moved back to the bottom.
I just know the method very recently (December 14, 2022), and it really blows my mind because it's just so simple. Everyone should try this method!
Move navigation bar from side to bottom in Outlook using Registry fix (worked but complicated)
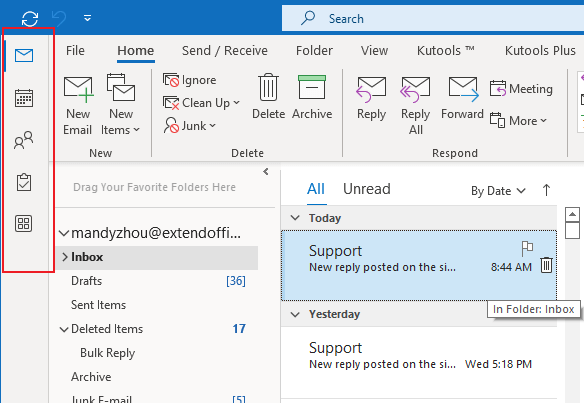
1. Enable Outlook, you can see the navigation bar is now located in the upper left side.
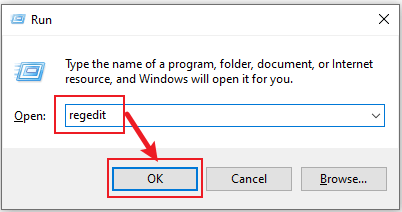
2. Hold down the Windows key and R key on your keyboard to open the Run dialog box. Input regedit in the Open box. Then click OK.
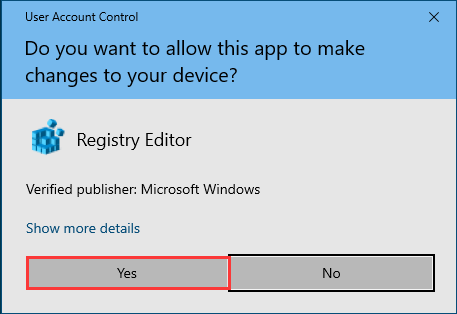
3. Then a User Account Control dialog box pops up. Click the Yes button to continue.
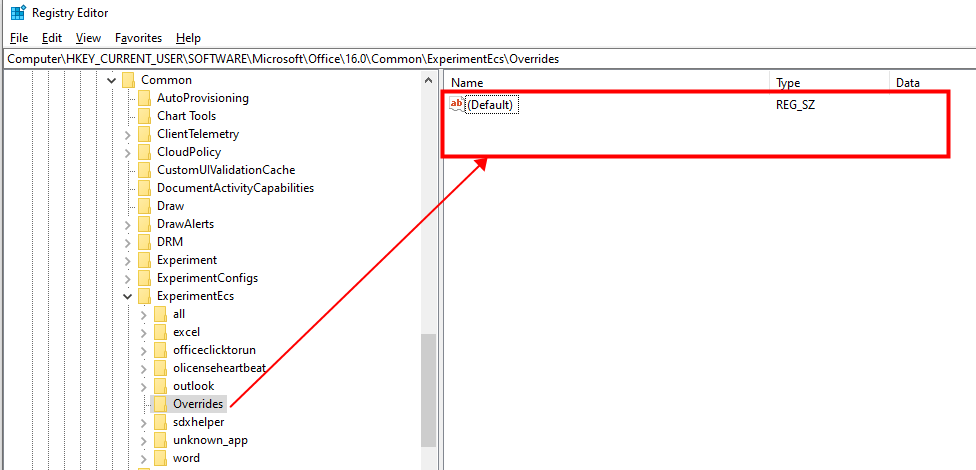
4. In the Registry Editor window, navigate to the following path: HKEY_CURRENT_USER\SOFTWARE\Microsoft\Office\16.0\Common\ExperimentEcs\Overrides
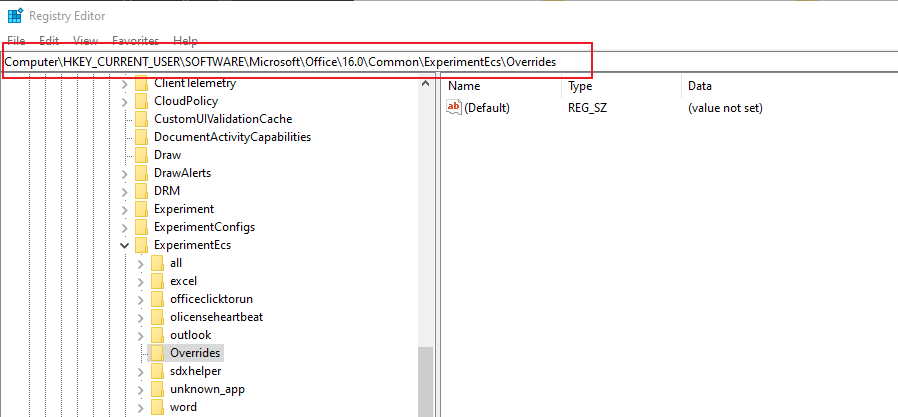
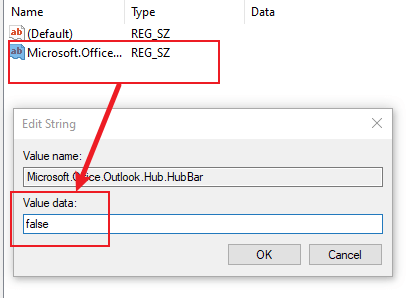
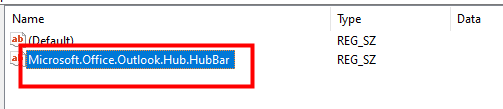
5. Locate and click the “Microsoft.Office.Outlook.Hub.HubBar” string value in the Name column in the right section of the page. Then set the Value data to false.
But in my case, the “Microsoft.Office.Outlook.Hub.HubBar” string value in this registry key doesn’t exist. So I should create a new string value named “Microsoft.Office.Outlook.Hub.HubBar” in this location first.
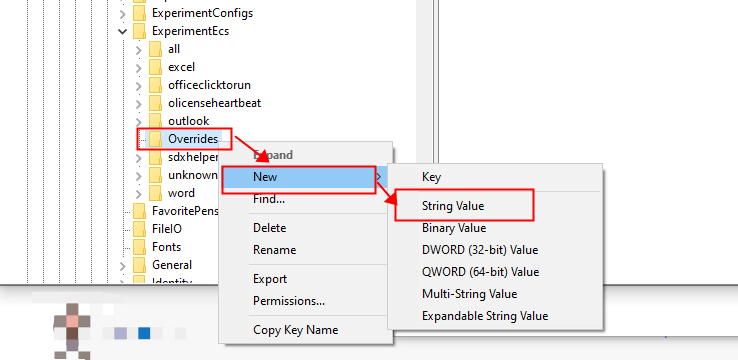
6. To create the “Microsoft.Office.Outlook.Hub.HubBar” string value, please right-click on the Overrides folder, then click New > String Value in the popped-up menu lists.
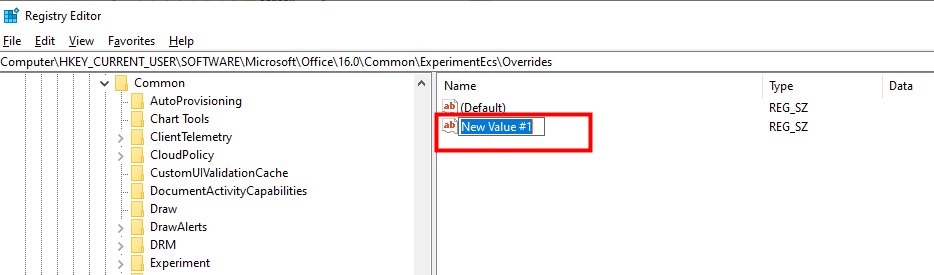
7. Copy and Paste “Microsoft.Office.Outlook.Hub.HubBar” in the text box.
Tip: If the name of the string value is not in editable mode, please right click it and select Rename from the context menu.
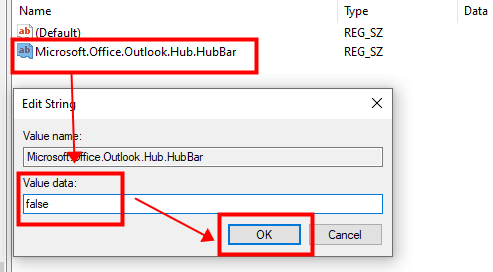
8. Double-click on the newly created string value. The Edit String dialog pops up. Type “false” in the Value data box. Then click OK.
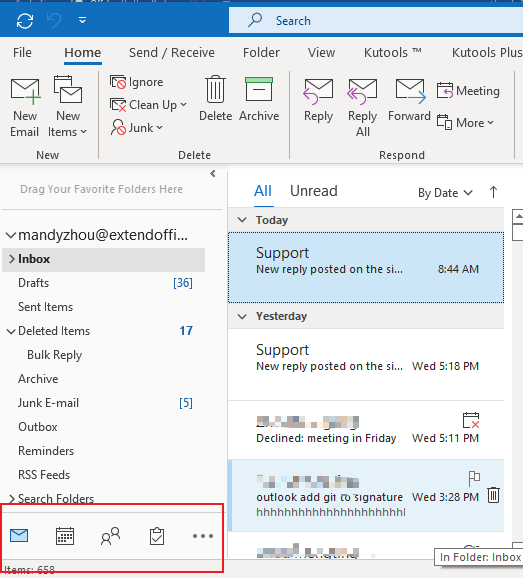
Now restart Outlook. You will see the Navigation bar is back at the bottom of the Outlook page like it used to be.
Note: If you want to restore the left-side navigation bar setting, just locate the “Microsoft.Office.Outlook.Hub.HubBar” string value in the Registry Editor window, right-click on it, and click Delete.

Related articles
How To Add Quick Parts To Quick Access Toolbar And Use It In Outlook?
Adding Quick Parts to Quick Access Toolbar can help you reach your goal. In this tutorial, we will talk about the method to add Quick Parts to Quick Access Toolbar and use it.
How To Rename And Edit Quick Parts Entries In Outlook?
How should we rename and edit the existing Quick Parts entries? This tutorial will show you the methods to do the trick.
How To Modify Or Delete Multiple Quick Parts And AutoText In Outlook?
So how should we quickly Modify or Delete them? This tutorial will show you the methods to get the job done.
Best Office Productivity Tools
Kutools for Outlook - Over 100 Powerful Features to Supercharge Your Outlook
🤖 AI Mail Assistant: Instant pro emails with AI magic--one-click to genius replies, perfect tone, multilingual mastery. Transform emailing effortlessly! ...
📧 Email Automation: Out of Office (Available for POP and IMAP) / Schedule Send Emails / Auto CC/BCC by Rules When Sending Email / Auto Forward (Advanced Rules) / Auto Add Greeting / Automatically Split Multi-Recipient Emails into Individual Messages ...
📨 Email Management: Easily Recall Emails / Block Scam Emails by Subjects and Others / Delete Duplicate Emails / Advanced Search / Consolidate Folders ...
📁 Attachments Pro: Batch Save / Batch Detach / Batch Compress / Auto Save / Auto Detach / Auto Compress ...
🌟 Interface Magic: 😊More Pretty and Cool Emojis / Boost Your Outlook Productivity with Tabbed Views / Minimize Outlook Instead of Closing ...
👍 One-click Wonders: Reply All with Incoming Attachments / Anti-Phishing Emails / 🕘Show Sender's Time Zone ...
👩🏼🤝👩🏻 Contacts & Calendar: Batch Add Contacts From Selected Emails / Split a Contact Group to Individual Groups / Remove Birthday Reminders ...
Over 100 Features Await Your Exploration! Click Here to Discover More.

